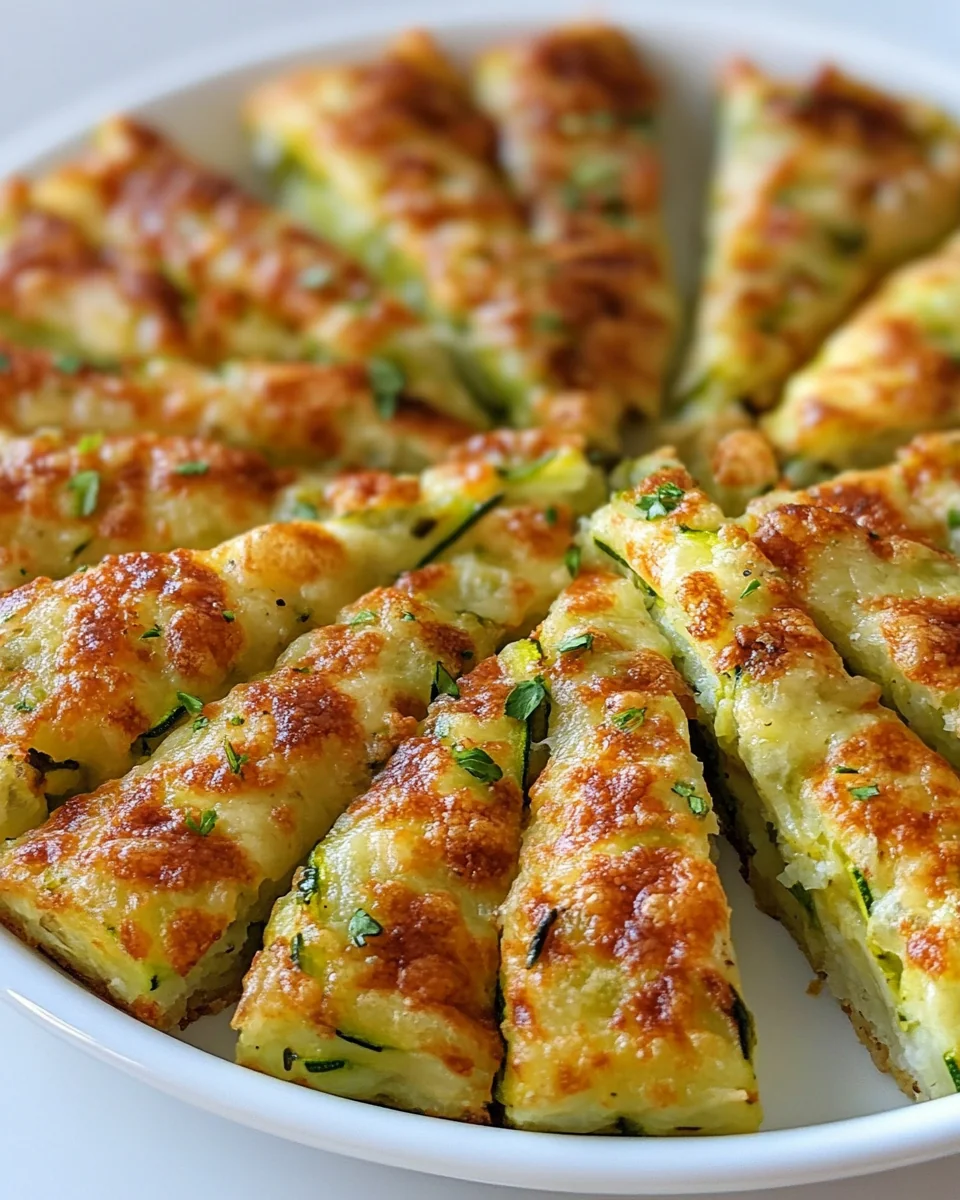
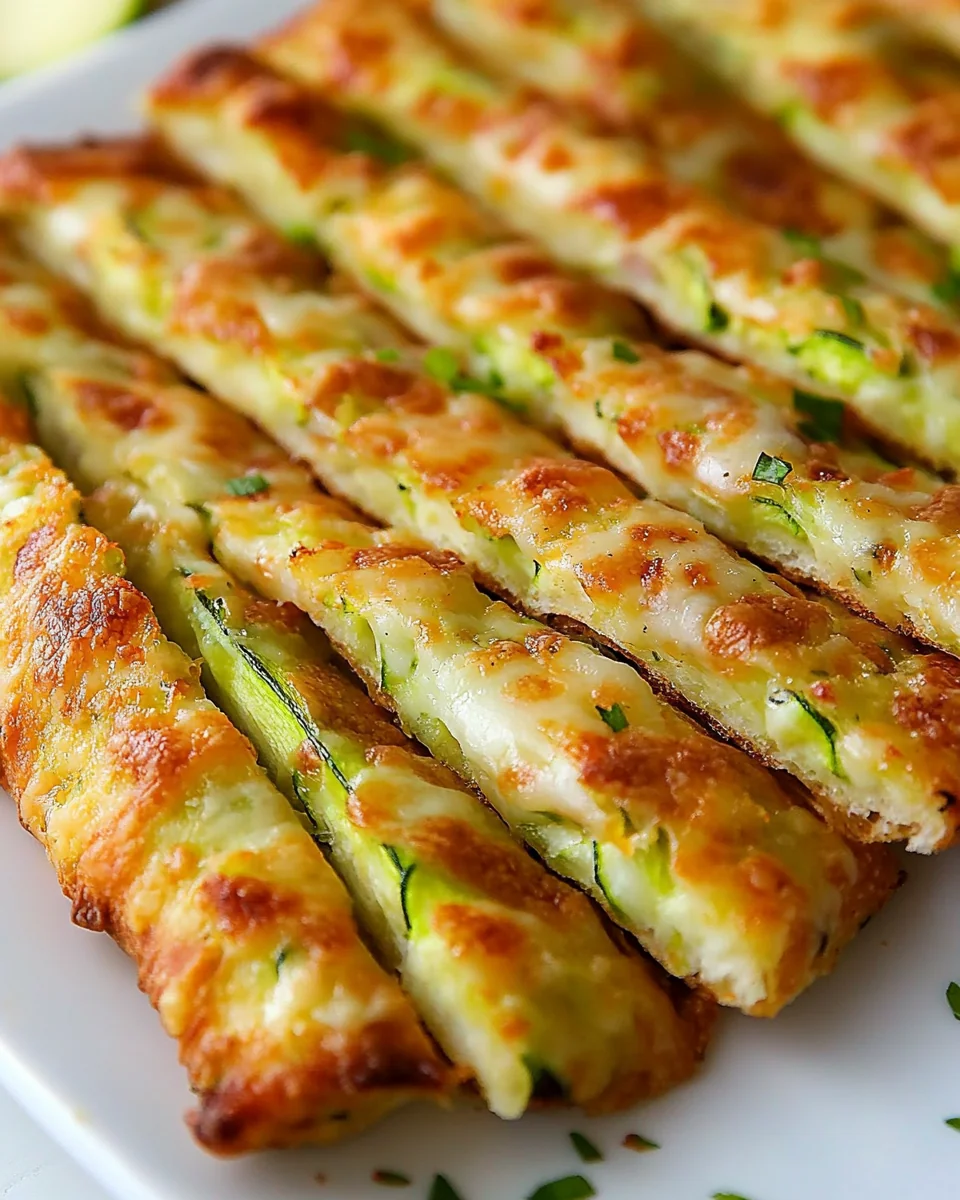
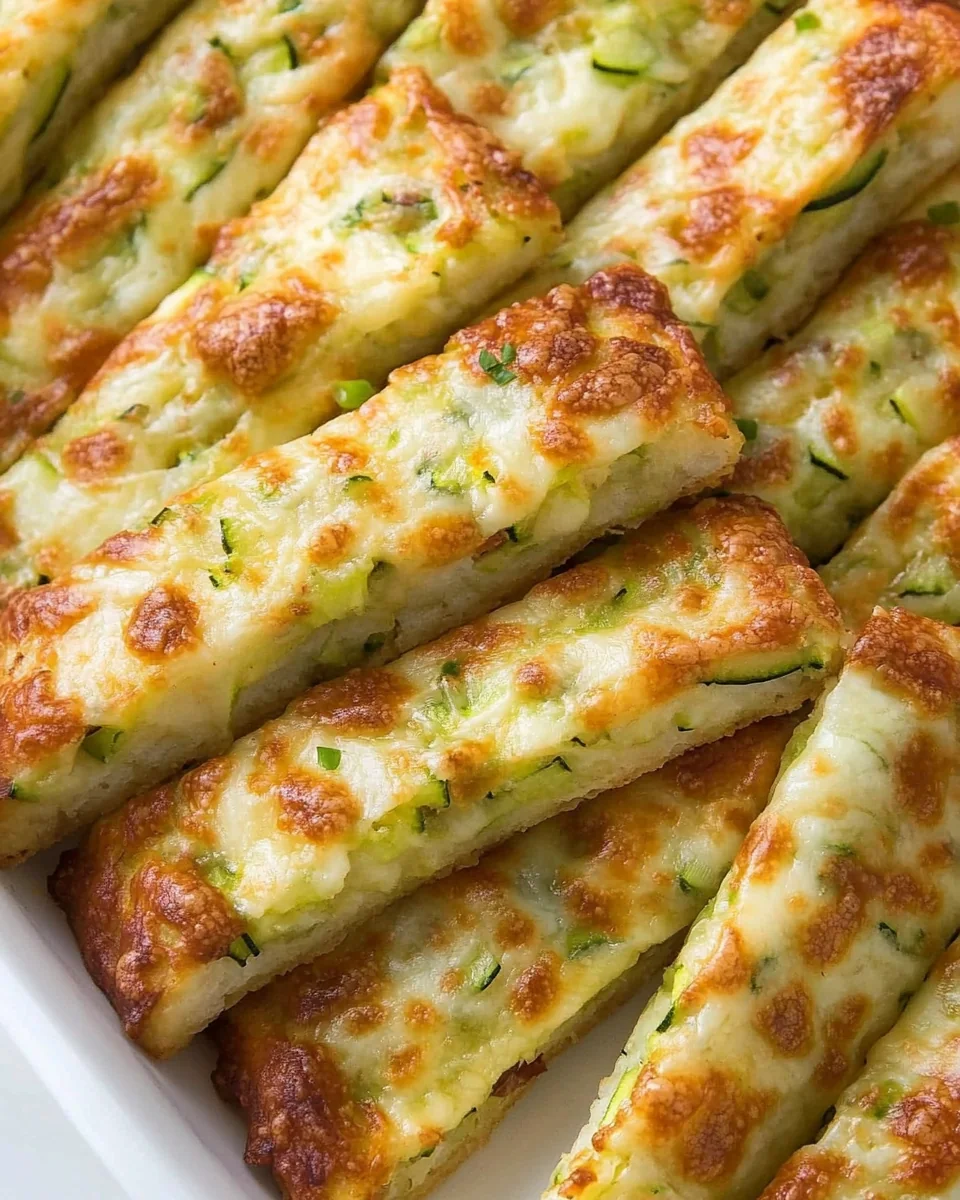
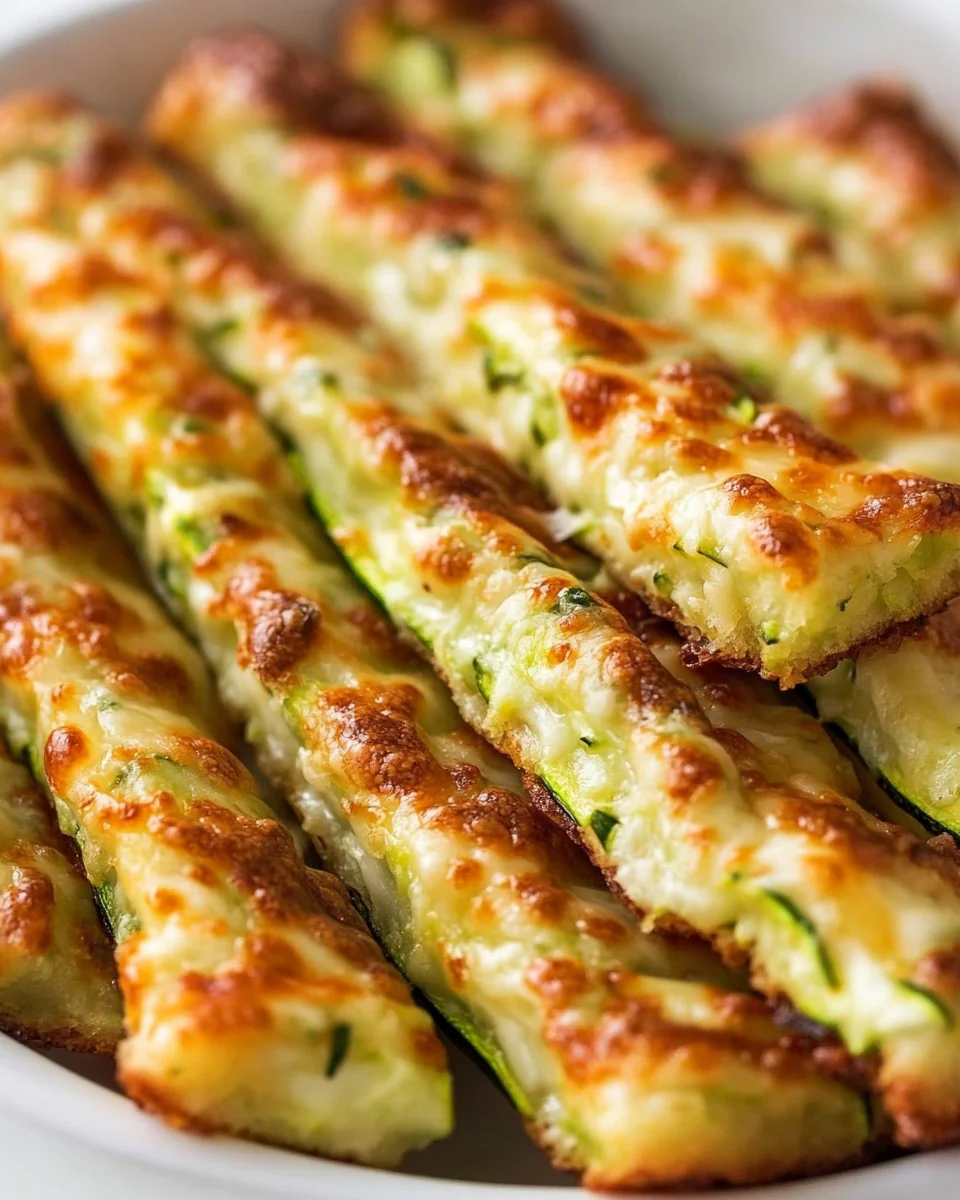
Cheesy Homemade Zucchini Breadsticks
Cheesy Homemade Zucchini Breadsticks are a delicious twist on a classic snack, combining the freshness of zucchini with the richness of cheese. These breadsticks are not only flavorful but also offer a unique way to incorporate vegetables into your diet. Perfect for family-friendly meals or as an appetizer for gatherings, they cater to various occasions, from weeknight dinners to festive celebrations. The standout quality of Cheesy Homemade Zucchini Breadsticks lies in their delightful texture; crispy on the outside and soft on the inside, they are sure to please both kids and adults alike. Their cheesy flavor melds perfectly with the subtle sweetness of zucchini, making them irresistible.
Why You’ll Love This Recipe?
This recipe for Cheesy Homemade Zucchini Breadsticks stands out for several reasons. First, the taste is simply sensational. The combination of melted cheese and fresh zucchini creates a mouthwatering experience that is both savory and satisfying. Each bite offers a burst of flavor, making it hard to resist going back for more.
Secondly, the ease of preparation makes this recipe a winner. With minimal ingredients and straightforward steps, you can whip up these delightful breadsticks in no time, even on the busiest of weeknights. This accessibility means you can enjoy homemade snacks without the stress.
Moreover, the versatility of Cheesy Homemade Zucchini Breadsticks allows you to customize them to your liking. You can experiment with different types of cheese or add spices to suit your palate. This adaptability makes them perfect for various occasions and preferences, ensuring that everyone at the table finds something to love.
Ingredients to make The recipe :
To prepare Cheesy Homemade Zucchini Breadsticks, you will need the following ingredients:
- Zucchini: Zucchini is the star of this dish, providing moisture and a subtle sweetness. For this recipe, you will need about 2 medium zucchinis, which should yield approximately 2 cups of grated zucchini. Make sure to wash the zucchinis thoroughly and trim the ends before grating. The high water content in zucchini helps keep the breadsticks tender while adding valuable nutrients.
- Cheese: A blend of shredded mozzarella and parmesan cheese offers the perfect combination of meltiness and flavor. You will need 1 cup of shredded mozzarella and ½ cup of grated parmesan. The mozzarella adds stretchiness, while the parmesan contributes a nutty richness. Feel free to adjust the ratios based on your cheese preferences, but this blend is recommended for the best result.
- All-purpose flour: Flour binds the ingredients together and gives the breadsticks structure. Use about ¾ cup of all-purpose flour, which will help absorb the moisture from the zucchini while still allowing the breadsticks to remain light and fluffy. If you prefer a gluten-free alternative, consider using a gluten-free flour blend.
- Eggs: Eggs act as a binding agent in this recipe, helping to hold everything together. You will need 1 large egg. It also adds richness and contributes to the overall texture of the breadsticks, making them more cohesive and satisfying to eat.
- Baking powder: Baking powder is essential for leavening, providing the breadsticks with a fluffy texture. You will need 1 teaspoon of baking powder. This ingredient will help the breadsticks rise as they bake, giving them a light and airy quality.
- Garlic powder: For an extra layer of flavor, ½ teaspoon of garlic powder is recommended. This will infuse the breadsticks with a savory taste that complements the cheese and zucchini beautifully. Garlic powder is an easy way to add depth without overwhelming the dish.
- Salt and pepper: Seasoning with salt and pepper is crucial for enhancing the flavors of the ingredients. Use about ½ teaspoon of salt and a pinch of black pepper. Adjust to taste, ensuring that the breadsticks are well-seasoned without overwhelming the natural flavors of the zucchini and cheese.
- Olive oil: A drizzle of olive oil, approximately 1 tablespoon, can be brushed on top before baking for added richness and a golden finish. Olive oil not only enhances flavor but also helps achieve a crispy texture on the outside of the breadsticks.
How to Make Cheesy Homemade Zucchini Breadsticks?
Creating Cheesy Homemade Zucchini Breadsticks is a straightforward process that yields delicious results. Follow these detailed steps to ensure perfect breadsticks every time:
- Preheat your oven: Begin by preheating your oven to 425°F (220°C). This high temperature will help the breadsticks achieve a crispy exterior while keeping the inside tender and cheesy.
- Prepare the zucchini: While the oven is heating, wash and dry the zucchinis. Use a box grater or food processor to grate them finely. After grating, place the zucchini in a clean kitchen towel or cheesecloth and squeeze out as much moisture as possible. This step is crucial, as excess water can lead to soggy breadsticks.
- Mix the dry ingredients: In a large mixing bowl, combine the all-purpose flour, baking powder, garlic powder, salt, and pepper. Whisk these ingredients together until they are evenly mixed, ensuring that the baking powder is well incorporated.
- Combine the wet ingredients: In a separate bowl, beat the egg until thoroughly combined. Then, add the drained zucchini, shredded mozzarella, grated parmesan, and olive oil. Mix these ingredients until they are well blended. The zucchini should be evenly distributed throughout the mixture.
- Combine wet and dry mixtures: Gradually add the wet zucchini mixture to the dry ingredients. Use a spatula or wooden spoon to stir until just combined. Be careful not to overmix; the goal is to form a cohesive batter that holds together but still has some texture from the zucchini.
- Prepare the baking sheet: Line a baking sheet with parchment paper for easy removal of the breadsticks after baking. If you prefer, you can lightly grease the parchment paper with cooking spray to ensure they do not stick.
- Scoop the mixture: Using a spoon or cookie scoop, drop portions of the batter onto the prepared baking sheet. Shape each portion into a breadstick shape, ensuring they are spaced apart to allow for even cooking. Aim for about 1-inch thick breadsticks for the best texture.
- Brush with olive oil: To enhance the flavor and promote browning, lightly brush the tops of the shaped breadsticks with a little olive oil. This will help them achieve a beautiful golden color as they bake.
- Bake the breadsticks: Place the baking sheet in the preheated oven and bake for 18-20 minutes, or until the breadsticks are golden brown and firm to the touch. Keep an eye on them towards the end of the baking time to prevent over-browning.
- Cool and serve: Once baked, remove the breadsticks from the oven and allow them to cool for a few minutes on the baking sheet. This cooling period helps them firm up. Serve warm or at room temperature with your favorite dipping sauce for an extra flavorful experience.
Tips for Variations:
There are countless ways to customize your Cheesy Homemade Zucchini Breadsticks to suit your taste preferences or dietary needs. Here are some creative variations to consider:
- Add herbs: Incorporate fresh herbs such as basil, oregano, or chives into the batter for an aromatic twist. Finely chop about 2 tablespoons of your chosen herb and mix it in with the wet ingredients. This will add a garden-fresh flavor that elevates the breadsticks.
- Spicy kick: If you enjoy a bit of heat, consider adding red pepper flakes or diced jalapeños to the mixture. Start with ¼ teaspoon of red pepper flakes or one finely chopped jalapeño to bring a zesty kick to your breadsticks.
- Cheese variations: Experiment with different types of cheese for unique flavors. Try using sharp cheddar for a tangy taste or a creamy goat cheese for a luxurious texture. Mixing cheeses can also create a more complex flavor profile.
- Stuffed breadsticks: For a fun twist, you can stuff the breadsticks with additional ingredients like spinach, sun-dried tomatoes, or olives. Flatten the batter slightly, add a small amount of your chosen filling, then fold the dough over and shape it into a breadstick.
- Gluten-free option: To make this recipe gluten-free, use a gluten-free flour blend instead of all-purpose flour. Be aware that the texture may vary slightly, but it should still yield delicious results.
- Cheesy topping: For an extra cheesy experience, sprinkle additional shredded cheese on top of the breadsticks during the last few minutes of baking. This will create a gooey cheese layer that is irresistible.
- Herbed dipping sauce: Serve your Cheesy Homemade Zucchini Breadsticks with a homemade dipping sauce. Combine Greek yogurt with lemon juice, garlic, and fresh herbs for a refreshing dip that pairs perfectly with the breadsticks.
- Make it a meal: Transform these breadsticks into a main dish by serving them alongside a fresh salad or a hearty soup. Their cheesy goodness complements a variety of meals, making them a versatile addition to your table.
Serving Suggestions:
Serving Cheesy Homemade Zucchini Breadsticks can be as simple or as elaborate as you desire. Here are some detailed ideas for how to present and enjoy them:
- Appetizer platter: Arrange the breadsticks on a serving platter alongside an assortment of dipping sauces such as marinara, ranch, or a tangy yogurt dip. This makes for an inviting appetizer spread for gatherings or parties.
- Family meals: Incorporate these breadsticks as a side dish during family dinners. They pair wonderfully with grilled chicken, roasted vegetables, or a fresh garden salad, adding a delightful cheesy element to the meal.
- Lunchbox treat: Slice leftover breadsticks into smaller pieces and pack them into lunchboxes for a tasty and nutritious snack. They can be enjoyed cold or warmed up, making them a convenient option for busy days.
- Picnic fare: These breadsticks are perfect for picnics or outdoor gatherings. They transport well and can be served at room temperature, making them an excellent choice for a casual outdoor meal.
- Seasonal pairings: During the summer, pair your breadsticks with fresh tomatoes and basil for a Caprese-inspired dish. In the fall, consider serving them with roasted squash or a pumpkin soup for a cozy and comforting meal.
- Storage tips: Store any leftover breadsticks in an airtight container in the refrigerator for up to three days. To reheat, place them in a preheated oven at 350°F (175°C) for about 10 minutes to restore their crispness.
- Special occasions: These breadsticks make a fantastic addition to special meals, such as Ramadan iftar or holiday dinners. Their unique flavor and appealing appearance will impress your guests, making your meal memorable.
- Garnishes: Consider garnishing the finished breadsticks with freshly grated parmesan or a sprinkle of chopped parsley for added color and flavor before serving. This simple touch enhances their presentation and makes them even more appetizing.
FAQ:
How do I store leftovers?
To store leftovers of Cheesy Homemade Zucchini Breadsticks, place them in an airtight container in the refrigerator. They will stay fresh for up to three days. For best results, reheat them in the oven to maintain their crispy texture.
Can I freeze this recipe?
Yes, you can freeze Cheesy Homemade Zucchini Breadsticks. Allow them to cool completely, then place them in a freezer-safe bag or container. They can be stored in the freezer for up to three months. Reheat them directly from frozen in the oven for a quick snack.
Can I make these breadsticks ahead of time?
Absolutely! You can prepare the batter ahead of time and store it in the refrigerator for up to 24 hours. When you’re ready to bake, simply scoop and shape the breadsticks before placing them in the oven.
What can I serve with these breadsticks?
These Cheesy Homemade Zucchini Breadsticks pair well with a variety of dips such as marinara, ranch, or a herbed yogurt dip. They also complement meals like grilled chicken, salads, or soups for a complete dining experience.
How can I tell when the breadsticks are done baking?
Your Cheesy Homemade Zucchini Breadsticks are done when they are golden brown on the outside and firm to the touch. A toothpick inserted in the center should come out clean, indicating that they are cooked through.

Cheesy Homemade Zucchini Breadsticks
Equipment
- Mixing Bowl
- Baking Sheet
- Parchment Paper
Ingredients
Ingredients Group Label
- 2 medium Zucchini Grated, yields about 2 cups.
- 1 cup Shredded Mozzarella Cheese
- ½ cup Grated Parmesan Cheese
- ¾ cup All-purpose Flour Can substitute with gluten-free flour.
- 1 large Egg Acts as a binding agent.
- 1 teaspoon Baking Powder For leavening.
- ½ teaspoon Garlic Powder For flavor.
- ½ teaspoon Salt Adjust to taste.
- 1 pinch Black Pepper Adjust to taste.
- 1 tablespoon Olive Oil For brushing on top before baking.
Instructions
- Preheat your oven to 425°F (220°C).
- Wash and dry the zucchinis, then grate them finely. Squeeze out excess moisture using a kitchen towel.
- In a large mixing bowl, combine the flour, baking powder, garlic powder, salt, and pepper. Whisk together.
- In a separate bowl, beat the egg and then mix in the drained zucchini, mozzarella, parmesan, and olive oil.
- Gradually add the wet mixture to the dry ingredients and stir until just combined.
- Line a baking sheet with parchment paper and scoop the mixture onto it, shaping into breadsticks.
- Brush the tops of the breadsticks with olive oil.
- Bake for 18-20 minutes until golden brown and firm to the touch.
- Allow to cool for a few minutes before serving.